
Mastering the Ankle Wrap for Support and Stability
Why Ankle Stability Matters for Active Lives
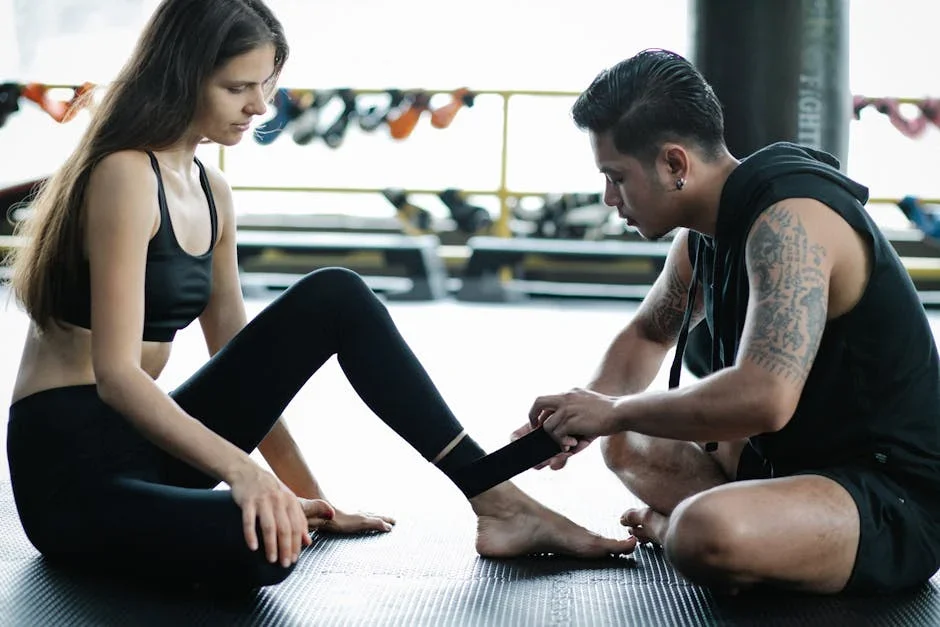
Ankle support taping techniques are established methods to stabilize your ankle joint, prevent injuries, and aid recovery from sprains. Proper taping provides compression, reduces swelling, and reminds you to move carefully.
Quick Answer: The Two Main Ankle Support Taping Techniques
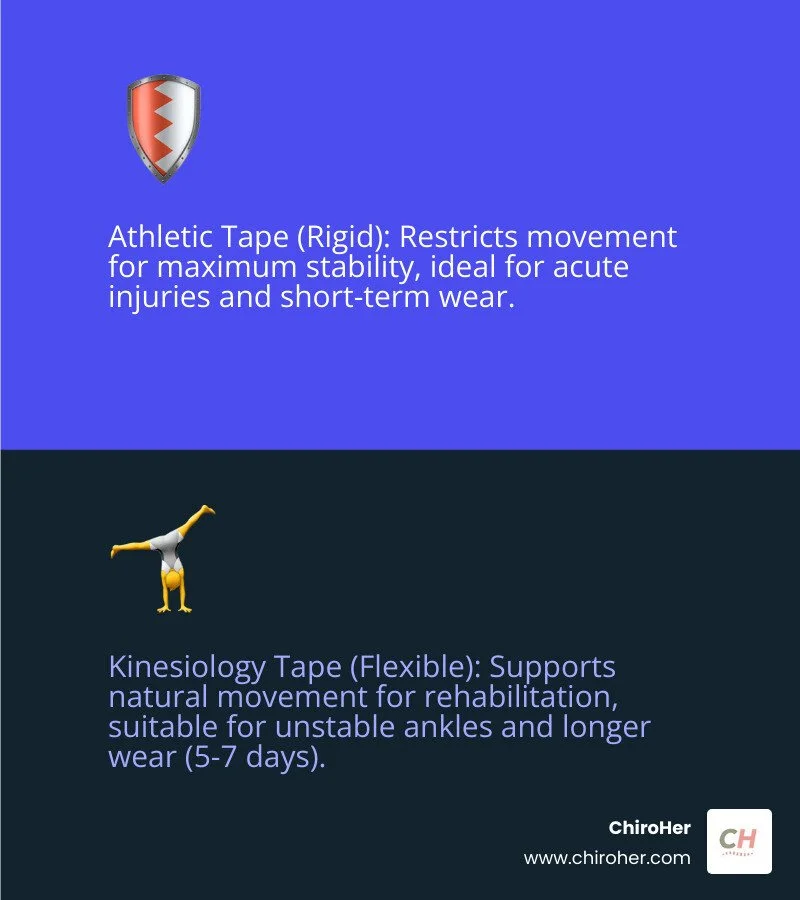
Athletic Tape (Rigid Tape) - Restricts movement for injured ankles. Best for acute injuries and short-term wear (less than 24 hours). Provides high stability.
Kinesiology Tape (Flexible Tape) - Allows range of motion while providing support. Best for rehabilitation and unstable ankles. Can be worn for 5-7 days.
Key Steps for Both Methods:
Clean and dry the ankle area thoroughly
Position ankle at 90 degrees
Apply anchor strips first
Add stirrups or support strips in figure-8 patterns
Check circulation after application
According to authoritative sources like the National Institutes of Health, ankle sprains are among the most common athletic injuries. Learning proper ankle support taping techniques can help you stay active and reduce your risk of reinjury.
Athletic tape works by restricting unwanted movements at the subtalar joint, keeping your ankle in a stable "closed-packed" position. Kinesiology tape takes a different approach by supporting movement rather than limiting it, which helps maintain blood flow and proprioception during activities.
Hello, I'm Dr. Michelle Andrews. At ChiroHer, I've seen how proper ankle support taping techniques help athletes get back to their favorite activities. In this guide, I'll walk you through both athletic and kinesiology taping methods so you can choose the right approach for your needs.
Getting Started: Purpose and Preparation for Ankle Taping
When an ankle is injured or unstable, it can impact daily life and athletic performance. This is where ankle support taping techniques become valuable.
The primary purposes of ankle support taping are:
Injury Prevention: Prophylactic taping helps prevent injuries, especially in high-risk sports.
Support for Sprains: Taping provides external support to weakened ligaments, protecting them as they heal.
Stability for Weak Ankles: For chronic instability, taping adds firmness and helps maintain a stable, neutral ankle position, preventing movements that cause sprains.
Pain Reduction: Taping limits painful movements and provides compression to reduce discomfort. It also serves as a physical reminder to move carefully.
Improved Proprioception: Taping improves the body's awareness of its position in space, which helps prevent re-injury.
Understanding these benefits helps us appreciate why proper application of ankle support taping techniques is so important.
Required Materials and Pre-Taping Checks
Before you begin, gathering the right materials and performing a few quick checks are crucial for effective and safe application.
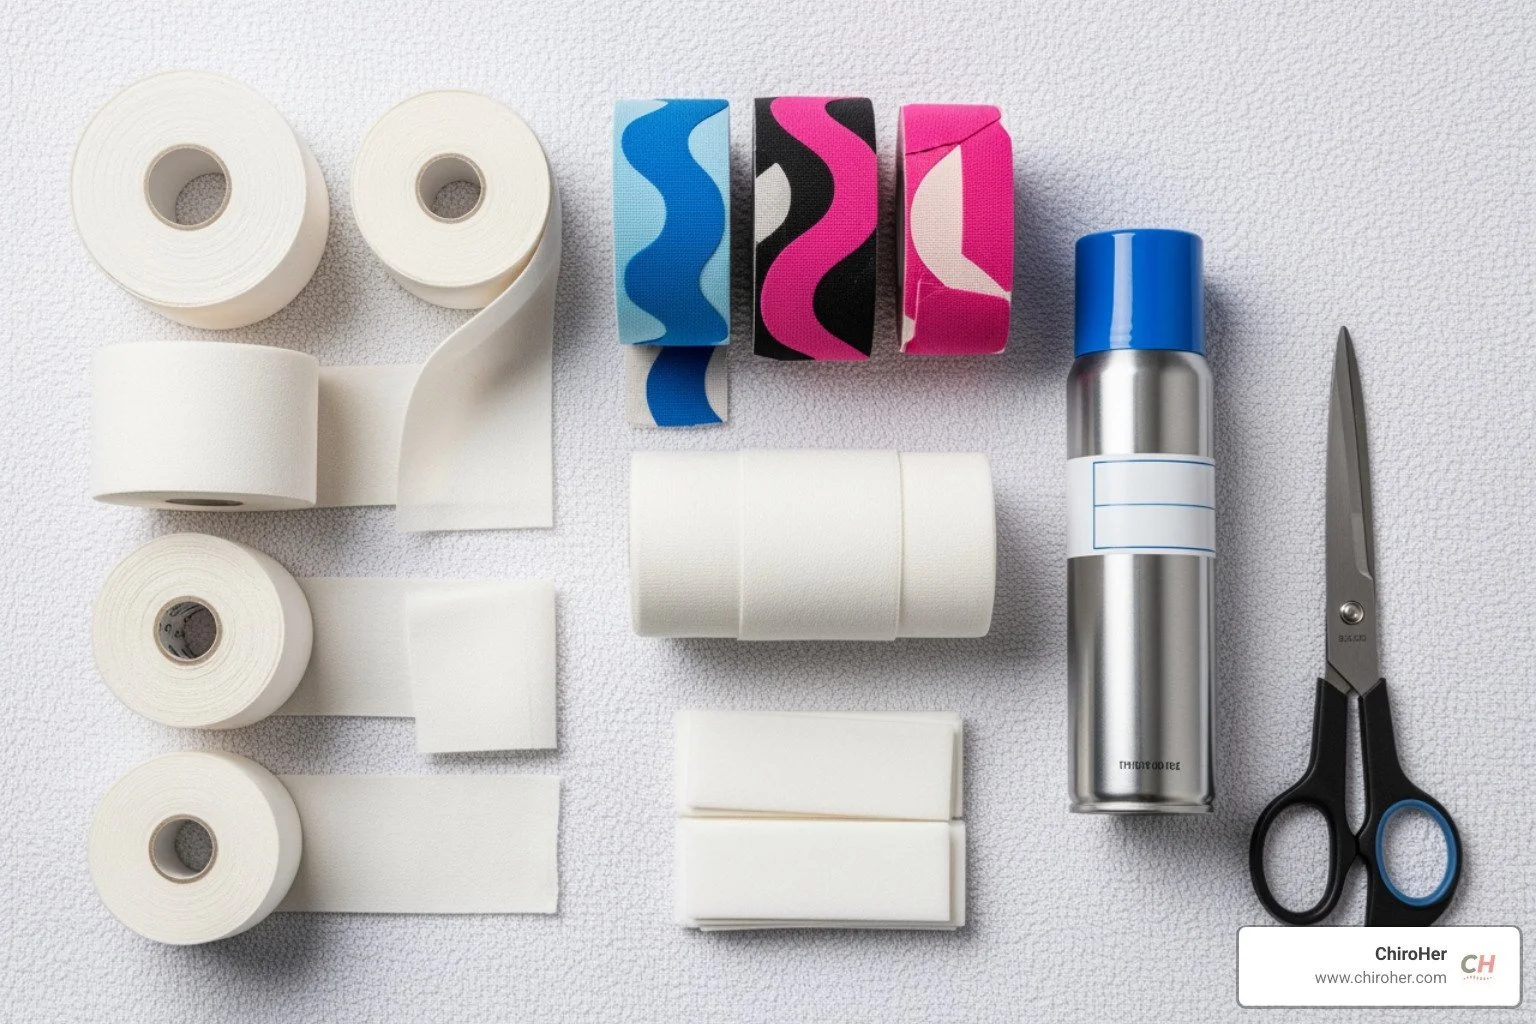
Here is a list of materials you'll need:
Athletic Tape: A 1.5-inch wide rigid tape for maximum stability.
Kinesiology Tape: A stretchy, elastic tape for flexible support and range of motion.
Pre-wrap (Underwrap): A thin foam layer to protect skin under athletic tape.
Heel and Lace Pads: Protects bony areas from blisters.
Adhesive Spray: Improves tape adhesion.
Tape Scissors: Blunt-ended scissors for safe tape removal.
Adhesive Remover Wipes: Helps remove leftover glue.
Oil-based products (e.g., baby oil, cooking oil): For gentle removal of kinesiology tape.
Skin Preparation: Clean, dry skin is key for proper adhesion.
Cleaning the skin: Wash the ankle and foot with soap and water and dry completely. Remove any oils or lotions. An alcohol wipe can also be used.
Shaving the area: Trimming or shaving hair improves adhesion and makes removal less painful.
Pre-Taping Assessment: Before applying any tape, perform a quick assessment:
Checking for wounds: Do not tape over open cuts, sores, or skin irritations.
Assessing circulation: Ensure toes are pink and warm.
Checking sensation: Check for normal feeling and any numbness or tingling in the foot and toes.
Determining Mechanism of Injury (MOI): Knowing how the injury happened helps choose the right taping technique.
Ruling out allergies: Check for any known allergies to tape or adhesives.
For more information on supportive taping and its benefits, you can visit our detailed guide on supportive taping.
Athletic Tape vs. Kinesiology Tape: What's the Difference?
When it comes to ankle support taping techniques, the choice between athletic tape and kinesiology tape is fundamental. While both offer support, their mechanisms and purposes differ. Understanding these differences allows us to select the best option for your needs.
Here's a comparison to help clarify:
Feature Athletic Tape (Rigid Tape) Kinesiology Tape (Flexible Tape) Rigidity Very rigid; limits movement significantly. Stretchy and elastic; allows for a full range of motion. Flexibility Non-flexible; provides strong mechanical restriction. Highly flexible; moves with the body. Wear Time Short-term; typically less than 24 hours, often removed after activity. Can affect circulation if worn too long. Longer-term; can be worn for 5-7 days, even through showers and swimming. Purpose Primarily for strong stabilization, injury prevention, and restricting unwanted movements. Provides external splint-like support. Primarily for dynamic support, pain reduction, improved circulation, and improved proprioception. Supports natural movement. Best for Acute Injury Yes, ideal for stabilizing a freshly injured ankle to prevent further damage. Can be used, but often after initial swelling has subsided and some range of motion is desired. Not for severe instability. Best for Rehabilitation Less ideal, as it restricts movement crucial for rehab exercises. Yes, excellent for providing support while encouraging active movement and recovery.
Kinesiology tape is designed to support movement, not restrict it. It's used by athletes returning to activity or those with unstable ankles needing support without sacrificing mobility. The tape's stretch can lift the skin, which may promote blood flow and reduce swelling. You can learn more on our page about Kinesiology Tape Benefits.
Step-by-Step Ankle Support Taping Techniques
Now that we understand the purpose and have our materials ready, let's walk through the practical application of different ankle support taping techniques. Practice makes perfect, and it's okay if your first attempt isn't flawless!
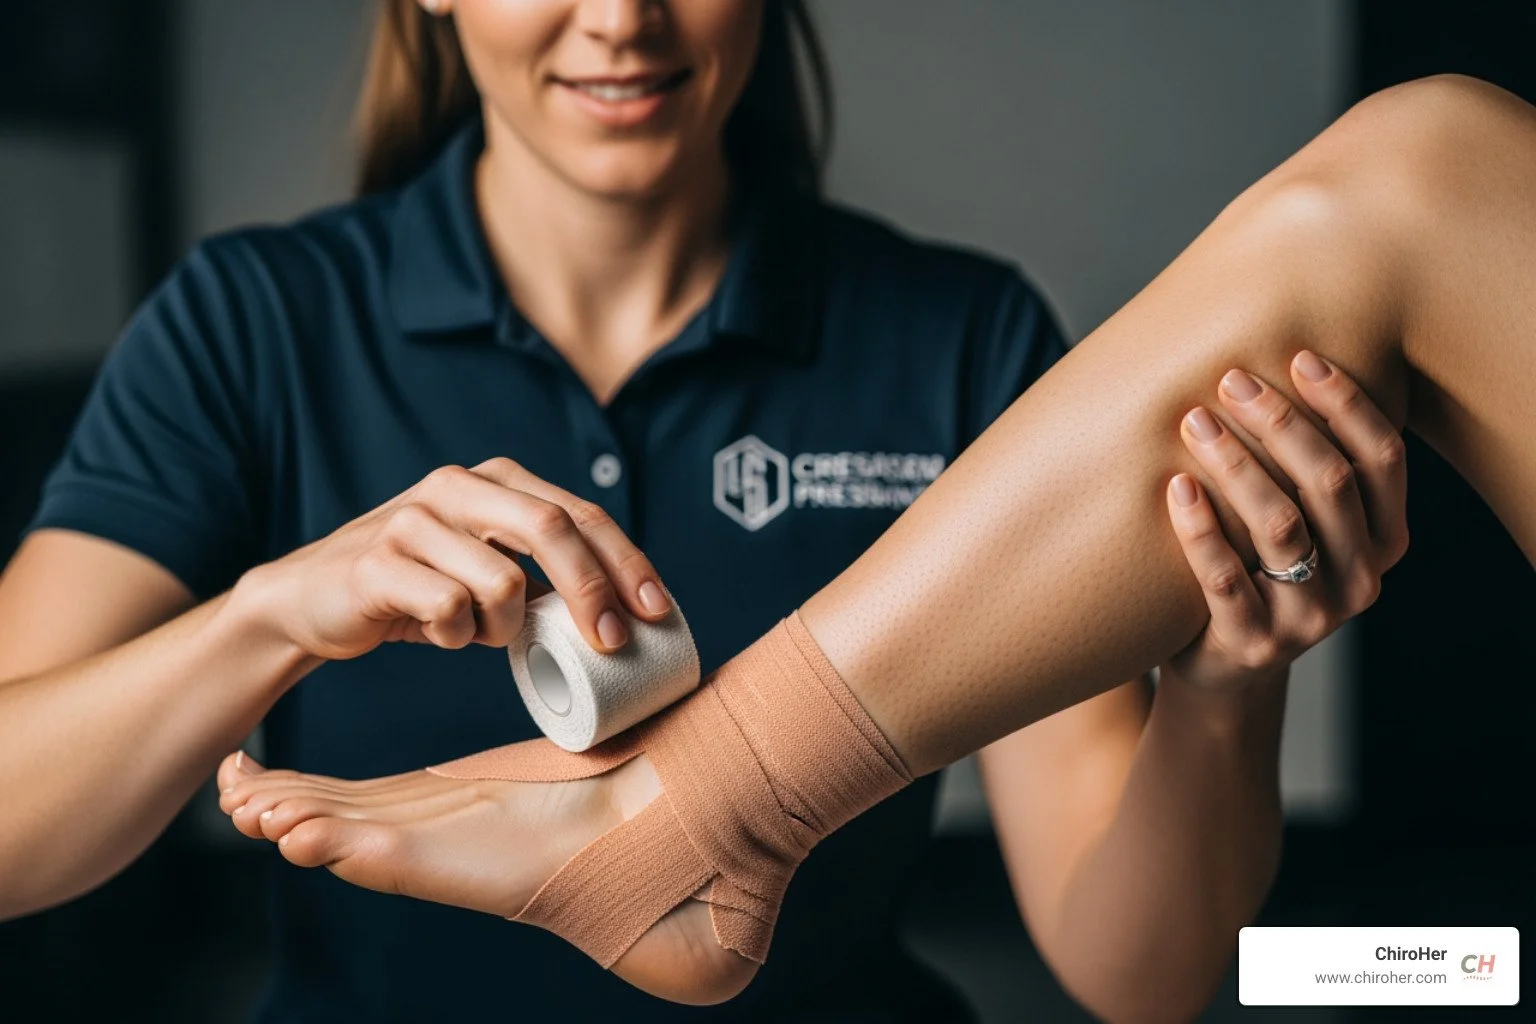
Classic Ankle Support Taping Techniques with Athletic Tape
Athletic tape provides robust support, making it ideal for acute injuries. This method restricts excessive inversion and eversion.
Ankle Position: Keep the ankle at a 90-degree angle (dorsiflexion) throughout the process.
Skin Preparation and Underwrap:
Apply adhesive spray to clean, dry skin.
Place heel and lace pads on the back and front of the ankle to prevent blisters.
Apply pre-wrap smoothly from the mid-foot up to below the calf muscle, overlapping each layer by half.
Anchor Strips:
Apply 2-3 anchor strips around the leg below the calf muscle.
Apply 1-2 anchor strips around the midfoot. Splay toes while applying to prevent restriction.
Stirrups:
For Inversion Sprains: Start on the inside anchor, pull tape down over the inner ankle bone, under the heel, and up the outside to the outer anchor. This supports against inversion. Apply three overlapping stirrups.
For Eversion Sprains: Start on the outside anchor, pull tape down over the outer ankle bone, under the heel, and up the inside to the inner anchor.
Calcaneal Strips (C-Strips): Apply 5-7 overlapping strips starting from the foot anchors and moving up behind the heel to stabilize the heel bone.
Figure-8 Technique: Start on the outside of the ankle, wrap around the back of the heel, across the top of the foot, under the arch, and back to the start. Apply two or three smooth figure-8s.
Heel Locks: Start at the inner anchor, wrap down and around the back of the heel, and pull up to the outer anchor. Repeat on the opposite side. Apply two heel locks on each side.
Closing Strips: Cover any exposed pre-wrap and secure loose ends with closing strips, moving from the foot up the leg. Keep the application smooth.
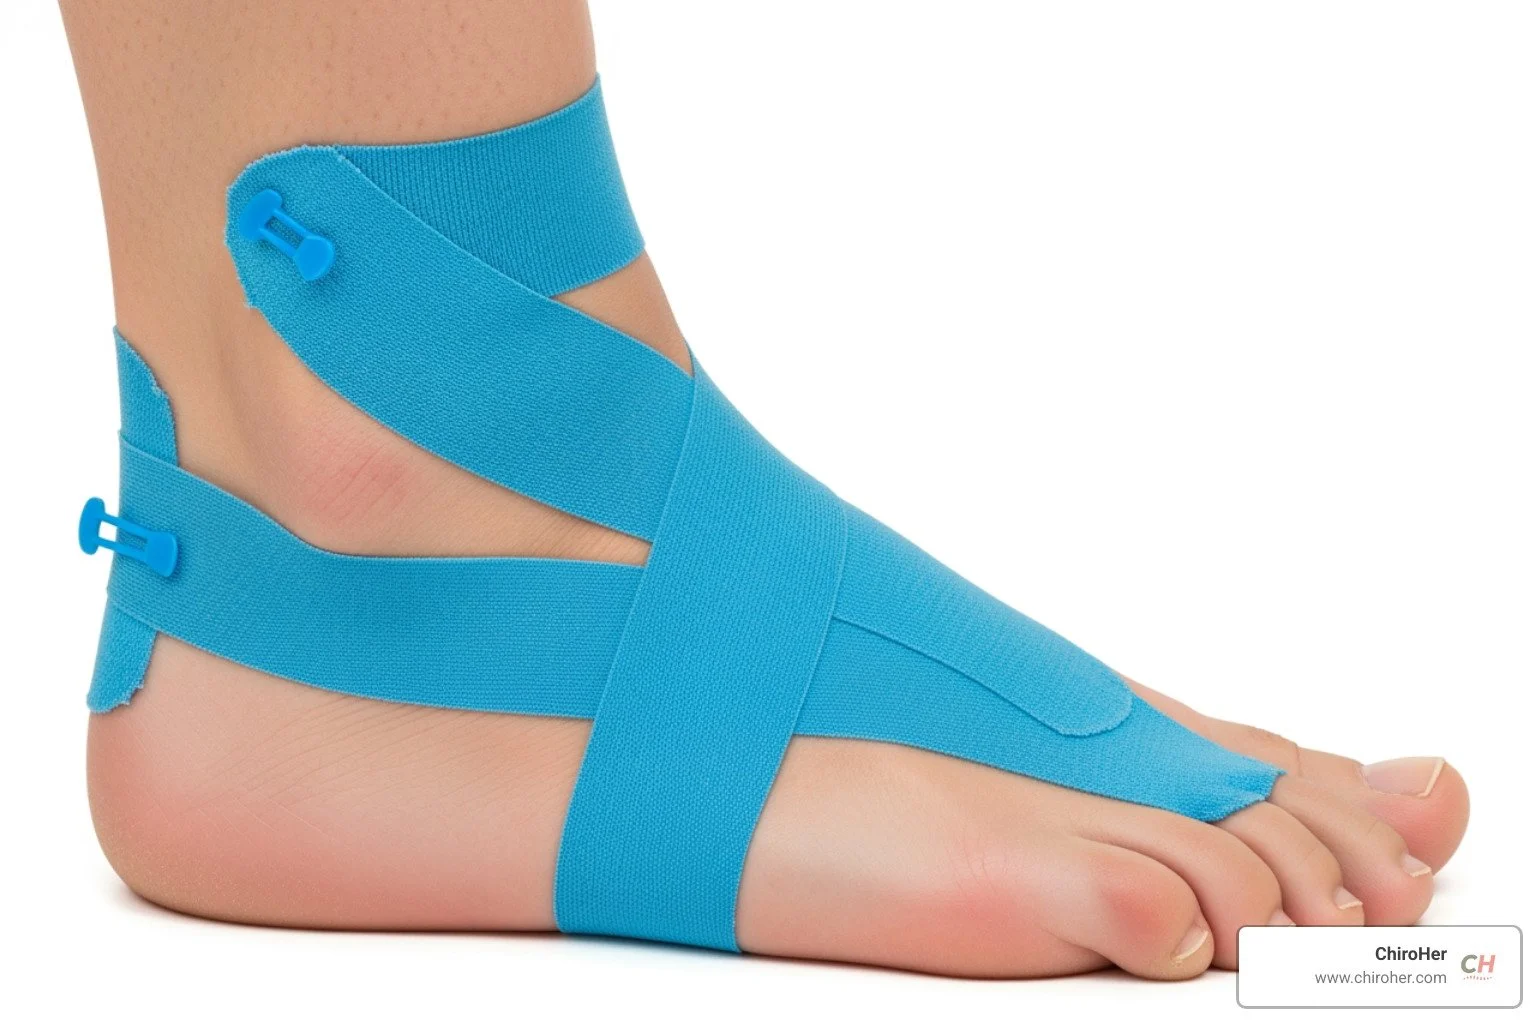
Flexible Ankle Support Taping Techniques Using Kinesiology Tape
Kinesiology tape offers dynamic support for rehabilitation and activity. It can be worn for 5-7 days, even in water, if applied correctly.
Ankle Position: Position the ankle at a 90-degree angle.
Skin Preparation: Thoroughly clean and dry the skin, ensuring it's free of oils.
Tape Preparation: Cut tape to length and round the corners with scissors to prevent peeling.
Applying with Stretch, Anchoring Without Stretch: Apply the middle of the tape with 50-75% stretch for support. Apply the first and last 1-2 inches (the anchors) with ZERO stretch.
Activating Adhesive: After applying, rub the tape to activate the heat-sensitive adhesive.
General Ankle Support Technique (Figure-8 style):
Strip 1 (Bottom Anchor): Apply a 6-inch strip with 50% stretch across the arch. The ends wrap up the sides of the ankle with zero stretch.
Strip 2 (Figure-8): Anchor a 12-inch strip on the outside of the lower leg. With 50% stretch, wrap it around the back of the heel, across the top of the foot, under the arch, and anchor on the inside of the lower leg. Anchors have zero stretch.
Strip 3 (Reverse Figure-8): Repeat the figure-8 pattern, starting from the inside of the lower leg and anchoring on the outside.
Support for Movement and Promoting Circulation: The tape's elasticity lifts the skin, which can improve circulation and reduce swelling, supporting healing while allowing movement.
For a deeper look into applying kinesiology tape, we recommend exploring our guide on How to Apply Kinesio Tape.
Aftercare, Safety, and Professional Guidance
Proper application is only half the battle. Knowing how to safely remove tape and what to look for afterward is just as important for maintaining skin health.
Safe Tape Removal and Post-Taping Assessment
Removing tape improperly can lead to skin irritation.
Athletic Tape Removal:
Use blunt-ended bandage scissors to safely cut the tape away from the skin.
Gently peel the tape off. Use an adhesive remover for any stubborn residue.
Kinesiology Tape Removal:
Soak the tape with an oil-based product (like baby oil or olive oil) for several minutes to soften the adhesive.
Gently roll or peel the tape off in the direction of hair growth. Do not pull it straight up.
Post-Taping Checks: Periodically check for safety and comfort:
Circulation Check: Check for capillary refill by pressing on a toenail. Color should return in 2-3 seconds. Toes should be warm and pink.
Sensation: Check for any numbness or tingling.
Swelling: Look for increased swelling in the foot or toes.
Discoloration: Note any redness, paleness, or blue/purple discoloration.
If you notice any signs of restricted circulation or abnormal sensations, remove the tape immediately.
Understanding Risks and When to See a Professional
While generally safe, it's important to know the risks of ankle taping and when to see a professional.
Adverse Effects: Adverse effects are not uncommon. According to research in Best Practice and Research: Clinical Rheumatology, the most common issues are discomfort from tape being too tight and allergic reactions.
Skin Irritation: Redness, itching, or blisters can occur if tape is too tight, worn too long, or causes an allergic reaction.
Allergic Reactions: Sensitivity to the adhesive can cause intense itching and swelling. Consider hypoallergenic tape if you have sensitive skin.
Circulation Restriction: Tape that is too tight can cut off blood flow, causing numbness, coldness, or discoloration. Remove tape immediately if this occurs.
When to Seek Medical Advice: Taping is not a substitute for professional medical care. See a professional if you experience:
Severe pain that prevents you from bearing weight.
Swelling that doesn't decrease with rest and ice.
Persistent numbness or tingling in your foot or toes.
Any visible deformity after an injury.
Frequent ankle sprains despite preventative measures.
If you are unsure about your injury or how to tape it correctly.
At ChiroHer, serving Oklahoma City, Yukon, Edmond, and surrounding areas, we specialize in chiropractic care and holistic wellness. We can help you understand your injury, guide your treatment, and teach you personalized ankle support taping techniques. If you're experiencing ankle pain or instability, schedule a consultation for your injury with us. We're here to help you get back to feeling your best.
The content in this article is for informational purposes only and is not a substitute for professional medical advice, diagnosis, or treatment. Always seek the advice of your physician or other qualified health provider with any questions you may have regarding a medical condition. Never disregard professional medical advice or delay in seeking it because of something you have read in this article.