
Meet Your Potential: How to Apply KT Tape for Maximum Benefit
Why Learning How to Apply Kinesio Tape Matters

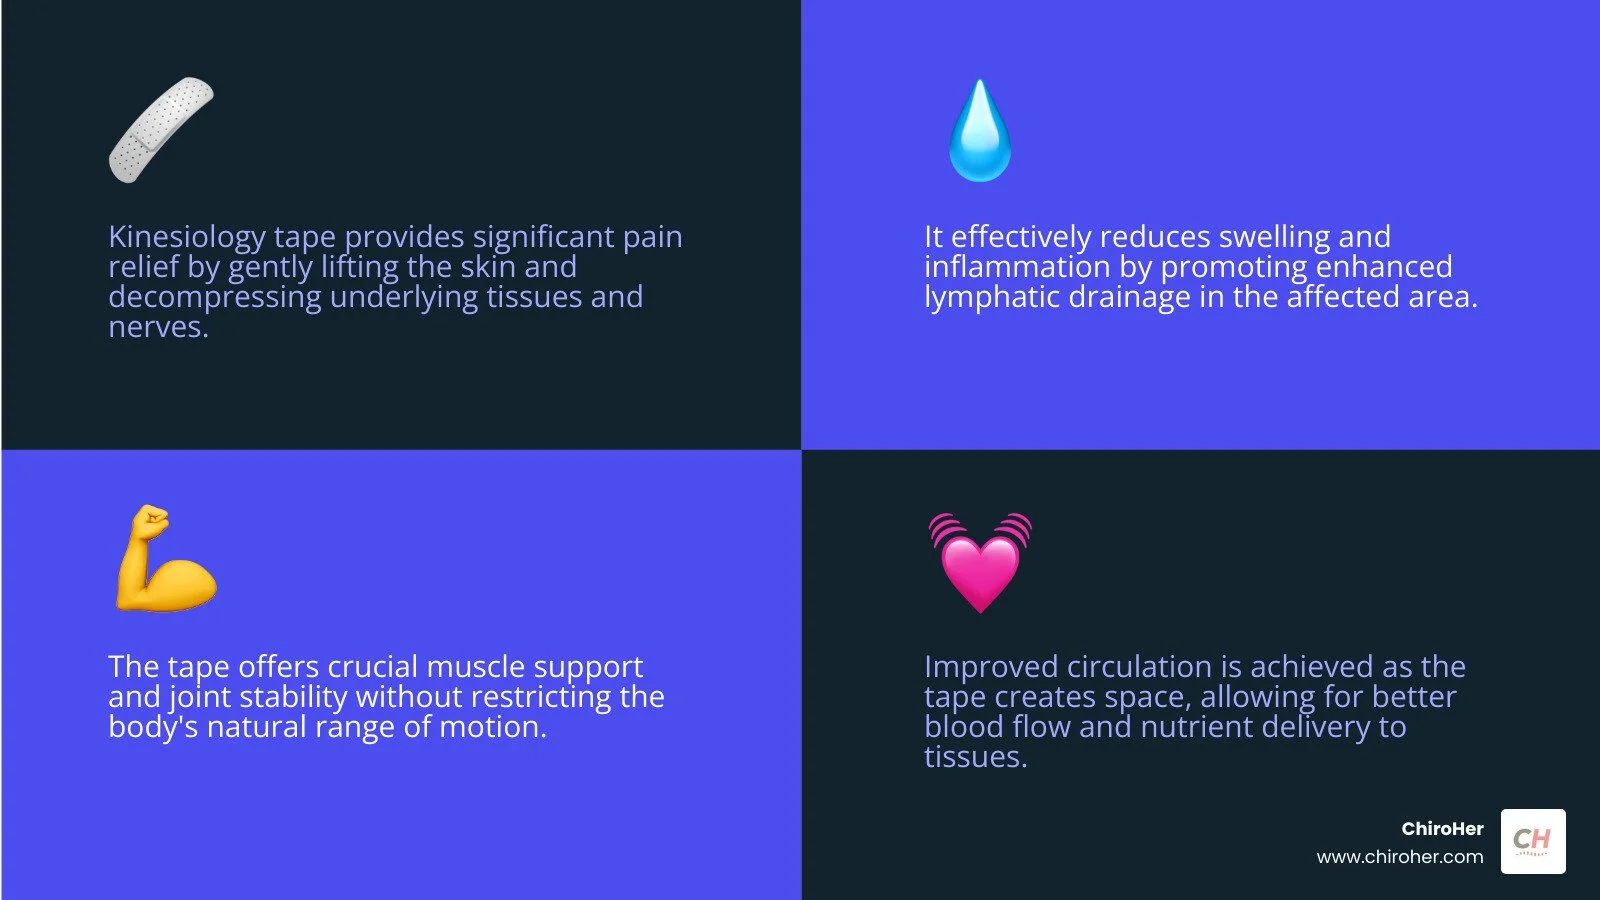
Learning how to apply kinesio tape correctly can mean the difference between effective pain relief and wasted time. This elastic tape is a popular drug-free option for muscle pain, joint support, and injury recovery.
Basic Steps to Apply Kinesio Tape:
Prepare the skin - Clean with rubbing alcohol and trim excess hair.
Cut and round tape corners to prevent peeling.
Apply anchors with 0% stretch (2-3 inches on each end).
Stretch the middle 25% for swelling or 50% for muscle support.
Rub to activate the heat-sensitive adhesive.
Wear for 3-5 days and remove slowly with oil if needed.
Research shows that kinesiology tape can significantly reduce pain and swelling when applied properly. However, 5-15% of users may be allergic to the adhesive, making correct application even more important.
Hi! I'm Dr. Michelle Andrews. At ChiroHer, I've used kinesiology tape to help hundreds of athletes and busy professionals improve performance and recover faster. I've seen how proper application can make a significant difference in someone's healing process and provide substantial relief.
What is Kinesiology Tape and How Does It Help?
Hi! I'm Dr. Michelle Andrews. You've likely seen colorful strips of tape on athletes, but it's not just for sports. Kinesiology tape is a versatile therapeutic tool that can help with everyday comfort.
Kinesiology tape is a thin, stretchy cotton tape with elastic properties similar to your skin. It can stretch up to 140% of its original length, moving with you instead of restricting you like rigid athletic tape. It acts as a therapeutic tool for:
Pain relief
Swelling reduction
Muscle support
Joint stability
Improved body awareness (proprioception)
When I apply tape to patients at ChiroHer, I'm supporting their bodies' natural healing process. Once you learn how to apply kinesio tape, you can use it at home for everyday aches.
Understanding the Science
The science behind kinesiology tape is based on how it interacts with your skin and the tissues underneath. The main theories include:
Gate Control Theory: The tape stimulates sensory nerves in the skin. These signals can "close the gate" on pain signals traveling to your brain, much like rubbing a bumped elbow makes it feel better.
Skin Lifting and Decompression: The tape gently lifts the skin, creating microscopic space. This reduces pressure on pain receptors and improves circulation and lymphatic drainage, which helps carry nutrients in and waste products out. It also helps decompress fascia, the connective tissue around muscles, allowing for smoother movement.
Scientific research on pain relief supports these mechanisms. You can learn more about the science in our article about how KT tape works.
Key Considerations Before You Start
Before you begin, it's important to consider safety and best practices.
Skin sensitivity is a primary concern. The tape uses a heat-activated acrylic adhesive. While latex-free, about 5-15% of people may have a reaction. Always perform an allergy patch test by applying a small piece to your forearm for at least an hour (ideally overnight). If you notice redness, itching, or irritation, do not use the tape.
There are several contraindications where you should never use kinesiology tape. Do not apply it over:
Open wounds or cuts
Fragile skin
Areas with active infection or suspected cancer
Areas affected by Deep Vein Thrombosis (DVT)
When to see a professional is an important decision. While basic taping is great for minor soreness, complex or chronic issues need an expert assessment. At ChiroHer, we provide personalized taping techniques for your specific needs. Learn more about our supportive taping services and how we can help.
A Comprehensive Guide on How to Apply Kinesio Tape
Let's get into the application. Proper preparation and technique are key to making sure your tape is effective and stays on. Many common issues like peeling or skin irritation are preventable with the right approach.
Skin Preparation
For the best adhesion, your skin needs to be properly prepared. Think of it as creating a clean canvas.
Clean and Dry: Thoroughly clean the area with soap and water or rubbing alcohol to remove dirt, oils, and lotions. Ensure the skin is completely dry.
Trim Hair: If you have excessive body hair in the area, trimming it allows the tape to stick to your skin, not your hair. This improves adhesion and makes removal more comfortable.
Wait Before Activity: Apply tape at least one hour before exercising, showering, or swimming to allow the adhesive to fully bond.
Measuring and Cutting the Tape
Precision here makes application much smoother.
Measure: Unroll the tape and hold it against the area to determine the right length. If you plan to stretch the tape, cut the strip slightly shorter than the area you're treating.
Cut and Round: Use sharp scissors for clean edges. Always round the corners of your tape strips. This simple step prevents the corners from catching on clothing and peeling off.
Common Cuts: The most common cuts are the I-strip (a single straight piece), the Y-strip (split at one end to go around a muscle or joint), and the Fan-strip (with multiple thin tails for lymphatic drainage).

Step-by-Step: How to Apply Kinesio Tape Correctly
Now for the application. Different parts of the tape strip are applied with different amounts of stretch.
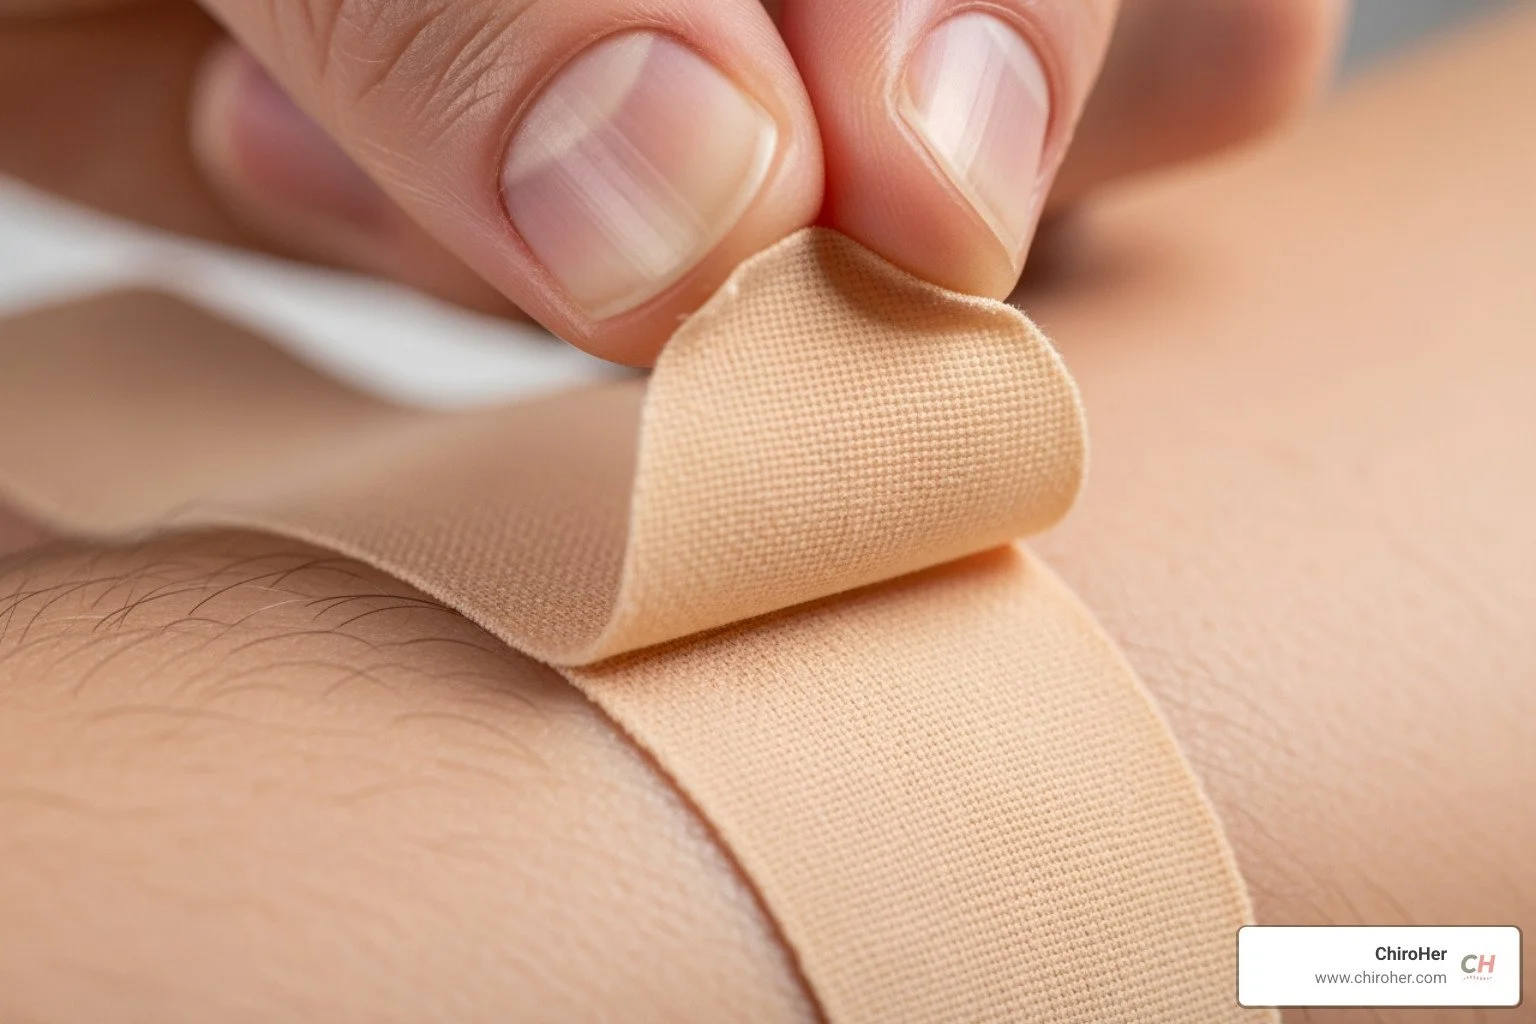
Tear the Backing: Tear the paper backing in the middle of the strip, or about 2 inches from the end. Peel it back, avoiding touching the adhesive with your fingers.
Apply Anchors: The first and last 2-3 inches of each strip are your anchor points. Always apply these with zero stretch to secure the tape.
Position the Body: Before applying the middle section, place the body part in a stretched position. For example, bend your knee to 90 degrees before taping it.
Apply Therapeutic Stretch: The amount of stretch depends on your goal. For swelling reduction, use 25% stretch or less. For muscle support, use a 50% stretch. Never stretch the tape more than 50%, as this can cause skin irritation.
Activate the Adhesive: Once the tape is on, rub it firmly for several seconds. The friction creates heat, which activates the adhesive and ensures a strong bond. For specific applications, see our guide on taping for posture.
Tape Removal and Aftercare
Proper wear and safe removal are just as important as application.
Wear Time: Tape can typically be worn for 3 to 5 days. It's water-resistant, so you can shower and swim with it on. Pat it dry with a towel afterward.
Signs of Irritation: Remove the tape immediately if you experience redness, itching, a burning sensation, or increased pain.
Gentle Removal: Never rip the tape off. Peel it back slowly in the direction of hair growth, holding your skin down with your other hand. To make it easier, apply baby oil or vegetable oil and let it soak for 5-10 minutes, or remove it in the shower. Proper removal protects your skin. For more on technique, read about taping for shin splints.
Maximizing Results and Staying Safe

What Research Says
While studies show mixed results, the evidence supports kinesiology tape as a helpful tool, especially when combined with other treatments.
Pain and Swelling: Studies show that tape can significantly decrease pain, reduce swelling faster, and increase range of motion, particularly after muscle soreness (DOMS). Research shows tape helps reduce swelling.
Circulation and Balance: Research has demonstrated that kinesiology tape increases blood flow to the skin. Some studies also found it improved dynamic balance in women with a history of falling.
Tension Matters: Interestingly, lower tape tensions are often associated with stronger effects. This contradicts the common assumption that pulling harder yields better results.
Common Misconceptions
Let's clear up a few common myths about kinesiology tape:
Color doesn't matter. The color of the tape is purely for looks and has no therapeutic effect.
Direction doesn't change muscle activation. Research shows that the direction of pull (up or down) does not activate or inhibit muscles. Proper tension and placement are what count.
It's not a brace. Kinesiology tape provides gentle support and feedback; it cannot offer the same mechanical stability as a rigid brace for severe joint instability.
When to Seek Professional Help
Self-application is great for minor issues, but professional expertise is critical for complex injuries or chronic pain. A healthcare professional can diagnose the root cause and create a taping strategy for your specific needs.
At ChiroHer, we integrate taping into a personalized care plan that may include chiropractic adjustments, acupuncture, and therapeutic exercises. If you're in the Oklahoma City, Yukon, Edmond, Nichols Hills, Del City, Mustang, or Moore area, our team can help. Schedule a consultation with us to see how we can support your health goals.
Common Taping Mistakes to Avoid
Avoid these common errors to ensure your taping is effective and safe:
Overstretching the tape: Never exceed 50% stretch. More tension can cause skin irritation and is less effective.
Applying to unprepared skin: Always start with clean, dry, and trimmed skin for proper adhesion.
Touching the adhesive: Oils from your fingers will reduce the tape's stickiness. Handle it by the paper backing.
Ripping tape off quickly: This can damage your skin. Always remove it slowly and gently, using oil or water to help.
Leaving sharp corners: Rounding the edges prevents them from catching on clothes and peeling.
Taping over other tape: Anchors must be applied directly to the skin. For more tips, see our guide on taping for carpal tunnel.
This guide is for informational purposes and is not a substitute for already established medical advice from your healthcare provider.