
Heal Your Hamstrings: Effective K-Taping for Injury Prevention
Why Learning How to Kinesio Tape Hamstring Matters for Your Recovery

Learning how to kinesio tape hamstring is a skill that can help you manage pain, support healing, and get back to your activities faster. For anyone from a runner with a nagging strain to a busy mom who overdid it at the gym, proper taping can make a real difference.
Quick Answer: Basic Hamstring Taping Steps
Clean and prepare your skin - ensure it's dry and free of lotions.
Measure three strips of tape from your sit bone to just above your knee.
Anchor the first strip at the ischial tuberosity (sit bone) with zero stretch.
Apply tape down the muscle with 25% stretch, following its natural path.
Repeat for the remaining hamstring muscles - biceps femoris, semitendinosus, and semimembranosus.
Rub the tape to activate the adhesive.
The hamstring muscles, located on the back of your thigh, are prone to injury from sudden sprints, awkward lunges, or even prolonged sitting. Research shows hamstring injuries are common, making up about 10% of all injuries in field-based team sports.
Kinesiology tape helps manage these injuries differently than traditional tape. It lifts the skin to improve blood flow and reduce pressure on pain receptors. Studies show proper application can increase hamstring muscle length and flexibility, particularly with the inhibition technique (applying tape from insertion to origin).
Hi! I'm Dr. Michelle Andrews, and through my work at ChiroHer and training with hundreds of athletes, I've seen how effective proper taping can be for hamstring injuries. Learning how to kinesio tape your hamstring correctly is an important skill I teach my patients to support their recovery between visits.

Understanding Hamstring Injuries and Taping Benefits
Your hamstrings are a group of three muscles (the biceps femoris, semitendinosus, and semimembranosus) running from your sit bone to just below your knee. They bend your knee and extend your hip backward—movements used for walking, running, and jumping.
A hamstring strain occurs when you overstretch or tear these muscle fibers, which is different from a sprain that affects ligaments. You can read more about the Difference Between Sprains and Strains to understand how these injuries differ. Symptoms often include a sudden, sharp pain in the back of the thigh, sometimes with a "popping" sensation, followed by swelling and bruising.
Kinesiology tape is a thin, elastic strip that mimics your skin's elasticity, moving with you. It gently lifts the skin, which can:
Improve circulation, bringing more oxygen to the injured muscle.
Reduce pressure on pain receptors, providing relief.
Offer subtle muscle support without restricting movement.
Improve proprioceptive feedback (your brain's awareness of your body's position), helping you move more safely.
For a deeper look at the science behind this approach, check out our article on How Does KT Tape Work.
What Causes Hamstring Strains?
Hamstring strains usually happen during powerful, explosive movements when the muscle is stretched while contracting. Common causes include:
Running and sprinting
Kicking a ball
Jumping
Sudden changes in direction
Several factors increase your risk of a hamstring strain:
Inadequate warm-up: Stiff muscles are unprepared for activity.
Muscle fatigue: Tired muscles are less effective at absorbing energy.
Poor form: Incorrect movement patterns can overload the hamstrings.
Previous hamstring injuries: This is a major predictor of future strains.
Muscle imbalances: Weak glutes or tight hip flexors force hamstrings to overwork.
Understanding what puts you at risk is your first line of defense. For more information on athletic injuries, take a look at our guide on Common Sports Injuries.
How Kinesiology Tape Aids Recovery
Unlike rigid athletic tape that immobilizes a joint, kinesiology tape supports recovery while allowing movement. Its elastic properties work with your body to provide several benefits:
Pain Relief: By lifting the skin, the tape reduces pressure on nerve endings, which can make movement more comfortable.
Reduced Swelling and Bruising: The lifting action improves lymphatic drainage, helping to clear excess fluid.
Muscle Support: It provides a supportive sensation without restricting motion, helping to prevent overstretching of injured fibers.
Improved Circulation: Better blood flow delivers oxygen and nutrients to the damaged tissue, promoting repair.
Proprioceptive Feedback: The tape on your skin improves your brain's awareness of your hamstring's position and movement, improving coordination and helping to prevent reinjury.
I find taping is particularly helpful in the later stages of rehabilitation to encourage muscle activation and support a return to normal movement. To learn more about the science and mechanisms behind this versatile tape, read our article What is Kinesio Tape and How Does It Work.
How to Kinesio Tape Hamstring: A Step-by-Step Guide
Learning how to kinesio tape hamstring muscles is easier than it looks. The key is taking your time with preparation and being mindful of your body position.
Preparing for Your Hamstring Application
Proper preparation is key for a successful and long-lasting tape application.
Gather Materials: You'll need a roll of kinesiology tape and sharp scissors.
Prepare Your Skin: The area must be clean, dry, and free of lotions or oils. Wash and dry the back of your thigh thoroughly. Consider trimming or shaving heavy hair for better adhesion and easier removal.
Measure and Cut: Cut three strips of tape long enough to run from your sit bone (ischial tuberosity) to just above the back of your knee.
Round the Corners: Use scissors to round the corners of each strip. This prevents the edges from catching on clothing and peeling.
Get in Position: Sit on the edge of a chair with your leg extended straight out, propping your heel on another chair or stool if needed. This puts your hamstring in a gentle stretch.
The Specifics of How to Kinesio Tape Hamstring for Strains
This technique uses a 25% stretch to support the muscle while allowing movement.
Anchor the First Strip: Tear the paper backing off one end of a strip. Place this anchor just below your sit bone at the top of your hamstring with zero stretch.
Apply the Tape: Peel the backing off as you guide the tape down the center of your hamstring. Apply a 25% stretch (stretch the tape fully, then release it by about three-quarters). The tape should feel snug, not tight.
Anchor the End: Apply the last two inches of the tape just above the back of your knee with zero stretch.
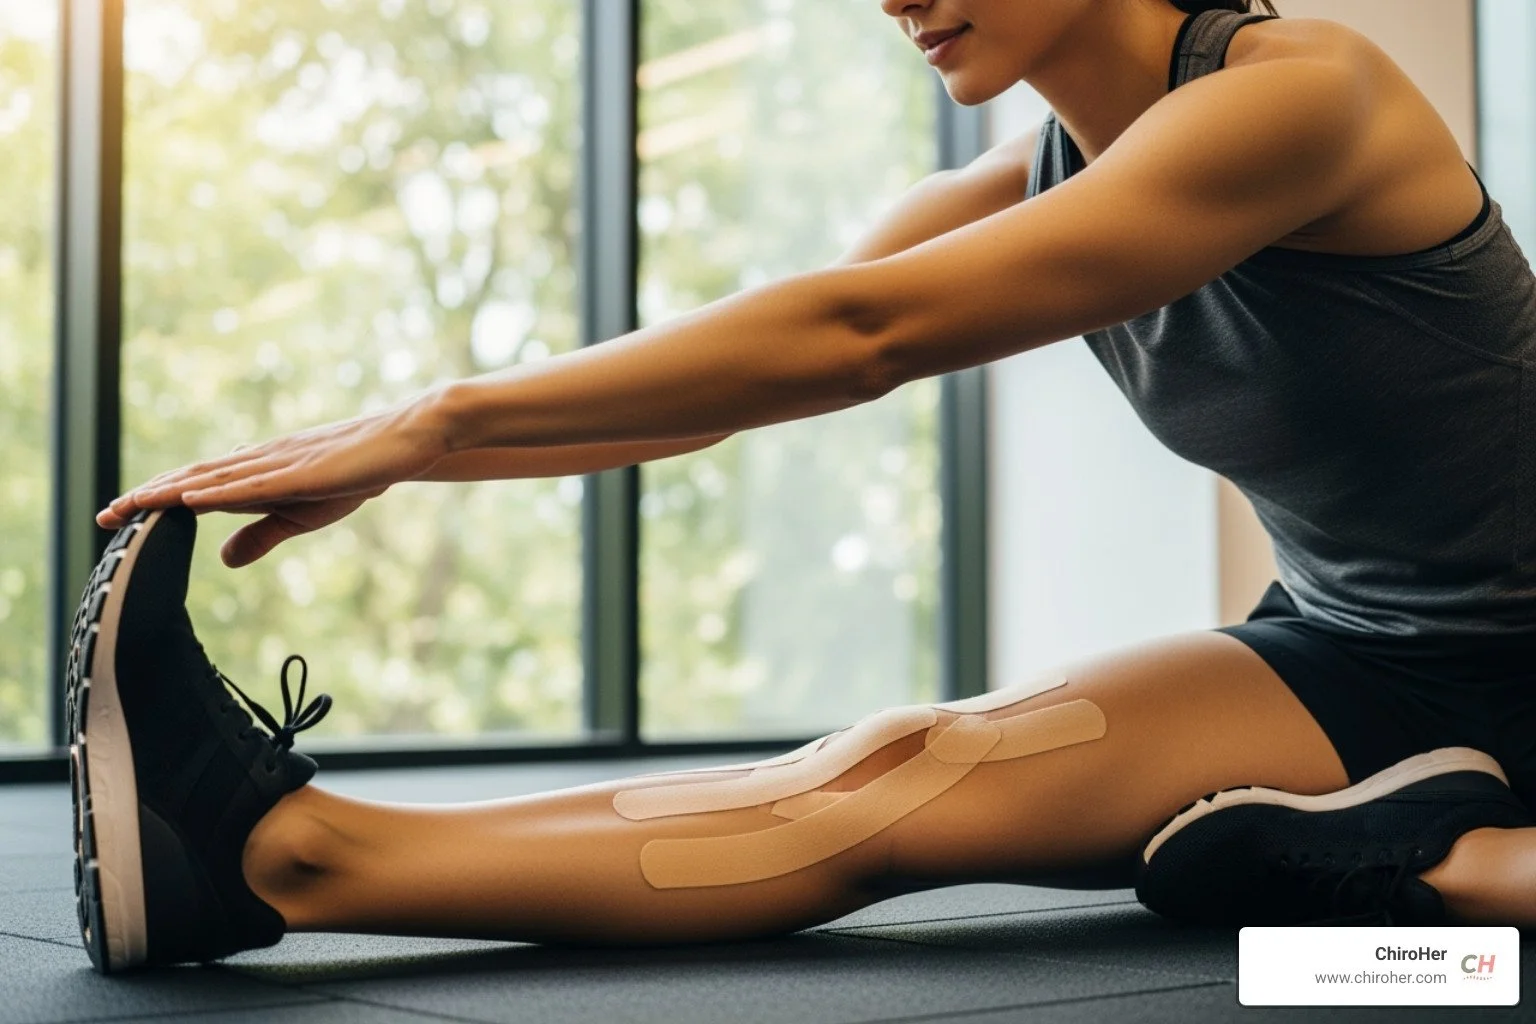
Apply Remaining Strips: Place the second and third strips on either side of the first, slightly overlapping, to cover the entire muscle group. Use the same anchor-stretch-anchor technique for each.
Activate the Adhesive: Once all strips are on, rub them briskly to generate heat. This activates the adhesive and ensures a secure bond.
Common Mistakes to Avoid:
Applying too much stretch, which can irritate the skin.
Forgetting to clean the skin, causing the tape to peel off.
Taping over broken skin, cuts, or rashes.
Leaving sharp corners on the tape strips.
Incorrect body positioning during application.
Taping Techniques for Different Hamstring Goals
You can adjust your taping method based on your goal.
Inhibition (for tightness/spasms): Tape from insertion to origin. Anchor the tape just below the knee and apply it upward toward your sit bone with a light 15-25% stretch. Research suggests this can help increase muscle length.
Facilitation (for weakness/support): Tape from origin to insertion, as described in the guide above. Anchor at the sit bone and apply tape downward toward the knee with a 25-50% stretch to encourage muscle activation.
At ChiroHer, we often combine Supportive Taping with Therapeutic Exercises for a comprehensive recovery plan. If you're unsure which technique is right for you, a professional assessment can provide clarity.
Aftercare, Prevention, and Professional Guidance
Once you've applied your kinesiology tape, proper care will maximize its benefit and keep your skin healthy. Beyond taping, understanding how to prevent future hamstring injuries is what will keep you moving freely.
Maximizing Results and Preventing Future Injury
To get the most from your tape application, follow these tips:
Wear Time: Keep the tape on for 2-3 days. I suggest reapplying fresh tape after 48 hours to let your skin breathe.
Getting it Wet: The tape is water-resistant, so you can shower and swim. Afterward, gently pat it dry with a towel. Avoid soaking in hot tubs, as this can loosen the adhesive.
Removal: Peel the tape off slowly in the direction of hair growth. To make it easier, apply baby oil or olive oil to the edges to help dissolve the adhesive.
When Not to Tape: Do not apply tape over open wounds, cuts, or rashes. If you have sensitive skin or an adhesive allergy, test a small patch first. Consult your doctor before using tape if you have a serious medical condition like active cancer or deep vein thrombosis.
Prevention is key to avoiding future hamstring problems.
Stretch Regularly: Consistent stretching is crucial, especially if you have tight hamstrings. Research shows kinesiology tape can contribute to improving hamstring flexibility, as noted in studies on the immediate effect of Kinesio taping on hamstring muscle extensibility.
Warm-Up Properly: Always perform a dynamic warm-up before physical activity.
Build Strength: Focus on strengthening your hamstrings, glutes, and core.
Increase Intensity Gradually: Don't increase your workout intensity by more than 10% per week.
Listen to Your Body: Never push through hamstring pain. Rest is a critical part of preventing a minor strain from becoming a major injury.
Our Sport Injury and Rehabilitation services can provide you with personalized guidance for recovery and prevention.
How to Kinesio Tape Hamstring: When to See a Professional
While learning how to kinesio tape hamstring injuries is a valuable skill, some situations require professional evaluation. Hamstring injuries are graded by severity:
Grade 1 (Mild Strain): Minor stretching or micro-tears with mild discomfort but little loss of strength.
Grade 2 (Partial Tear): More significant tearing with moderate pain, swelling, and some loss of strength.
Grade 3 (Complete Tear): The muscle is completely torn, causing severe pain, swelling, and loss of function.
You should seek professional medical advice if you experience:
Severe pain that prevents you from bearing weight.
Inability to walk or move your leg normally.
Significant swelling or bruising.
A "popping" or "snapping" sound at the time of injury.
Symptoms that don't improve after a few days or get worse.
Recurrent hamstring strains.
At ChiroHer, we specialize in assessing soft tissue injuries and creating effective treatment plans that may include chiropractic adjustments, manual therapy, and personalized exercises. We understand how frustrating hamstring injuries are and can help you recover. We serve patients throughout the Oklahoma City metro, including Yukon, Edmond, Nichols Hills, Del City, Mustang, and Moore. Don't let a minor injury become a major problem. Schedule Consultation with us today to get back to feeling your best.
This article is for informational purposes only and is not a substitute for professional medical advice, diagnosis, or treatment. Always seek the advice of your physician or other qualified health provider with any questions you may have regarding a medical condition.